








Introduction
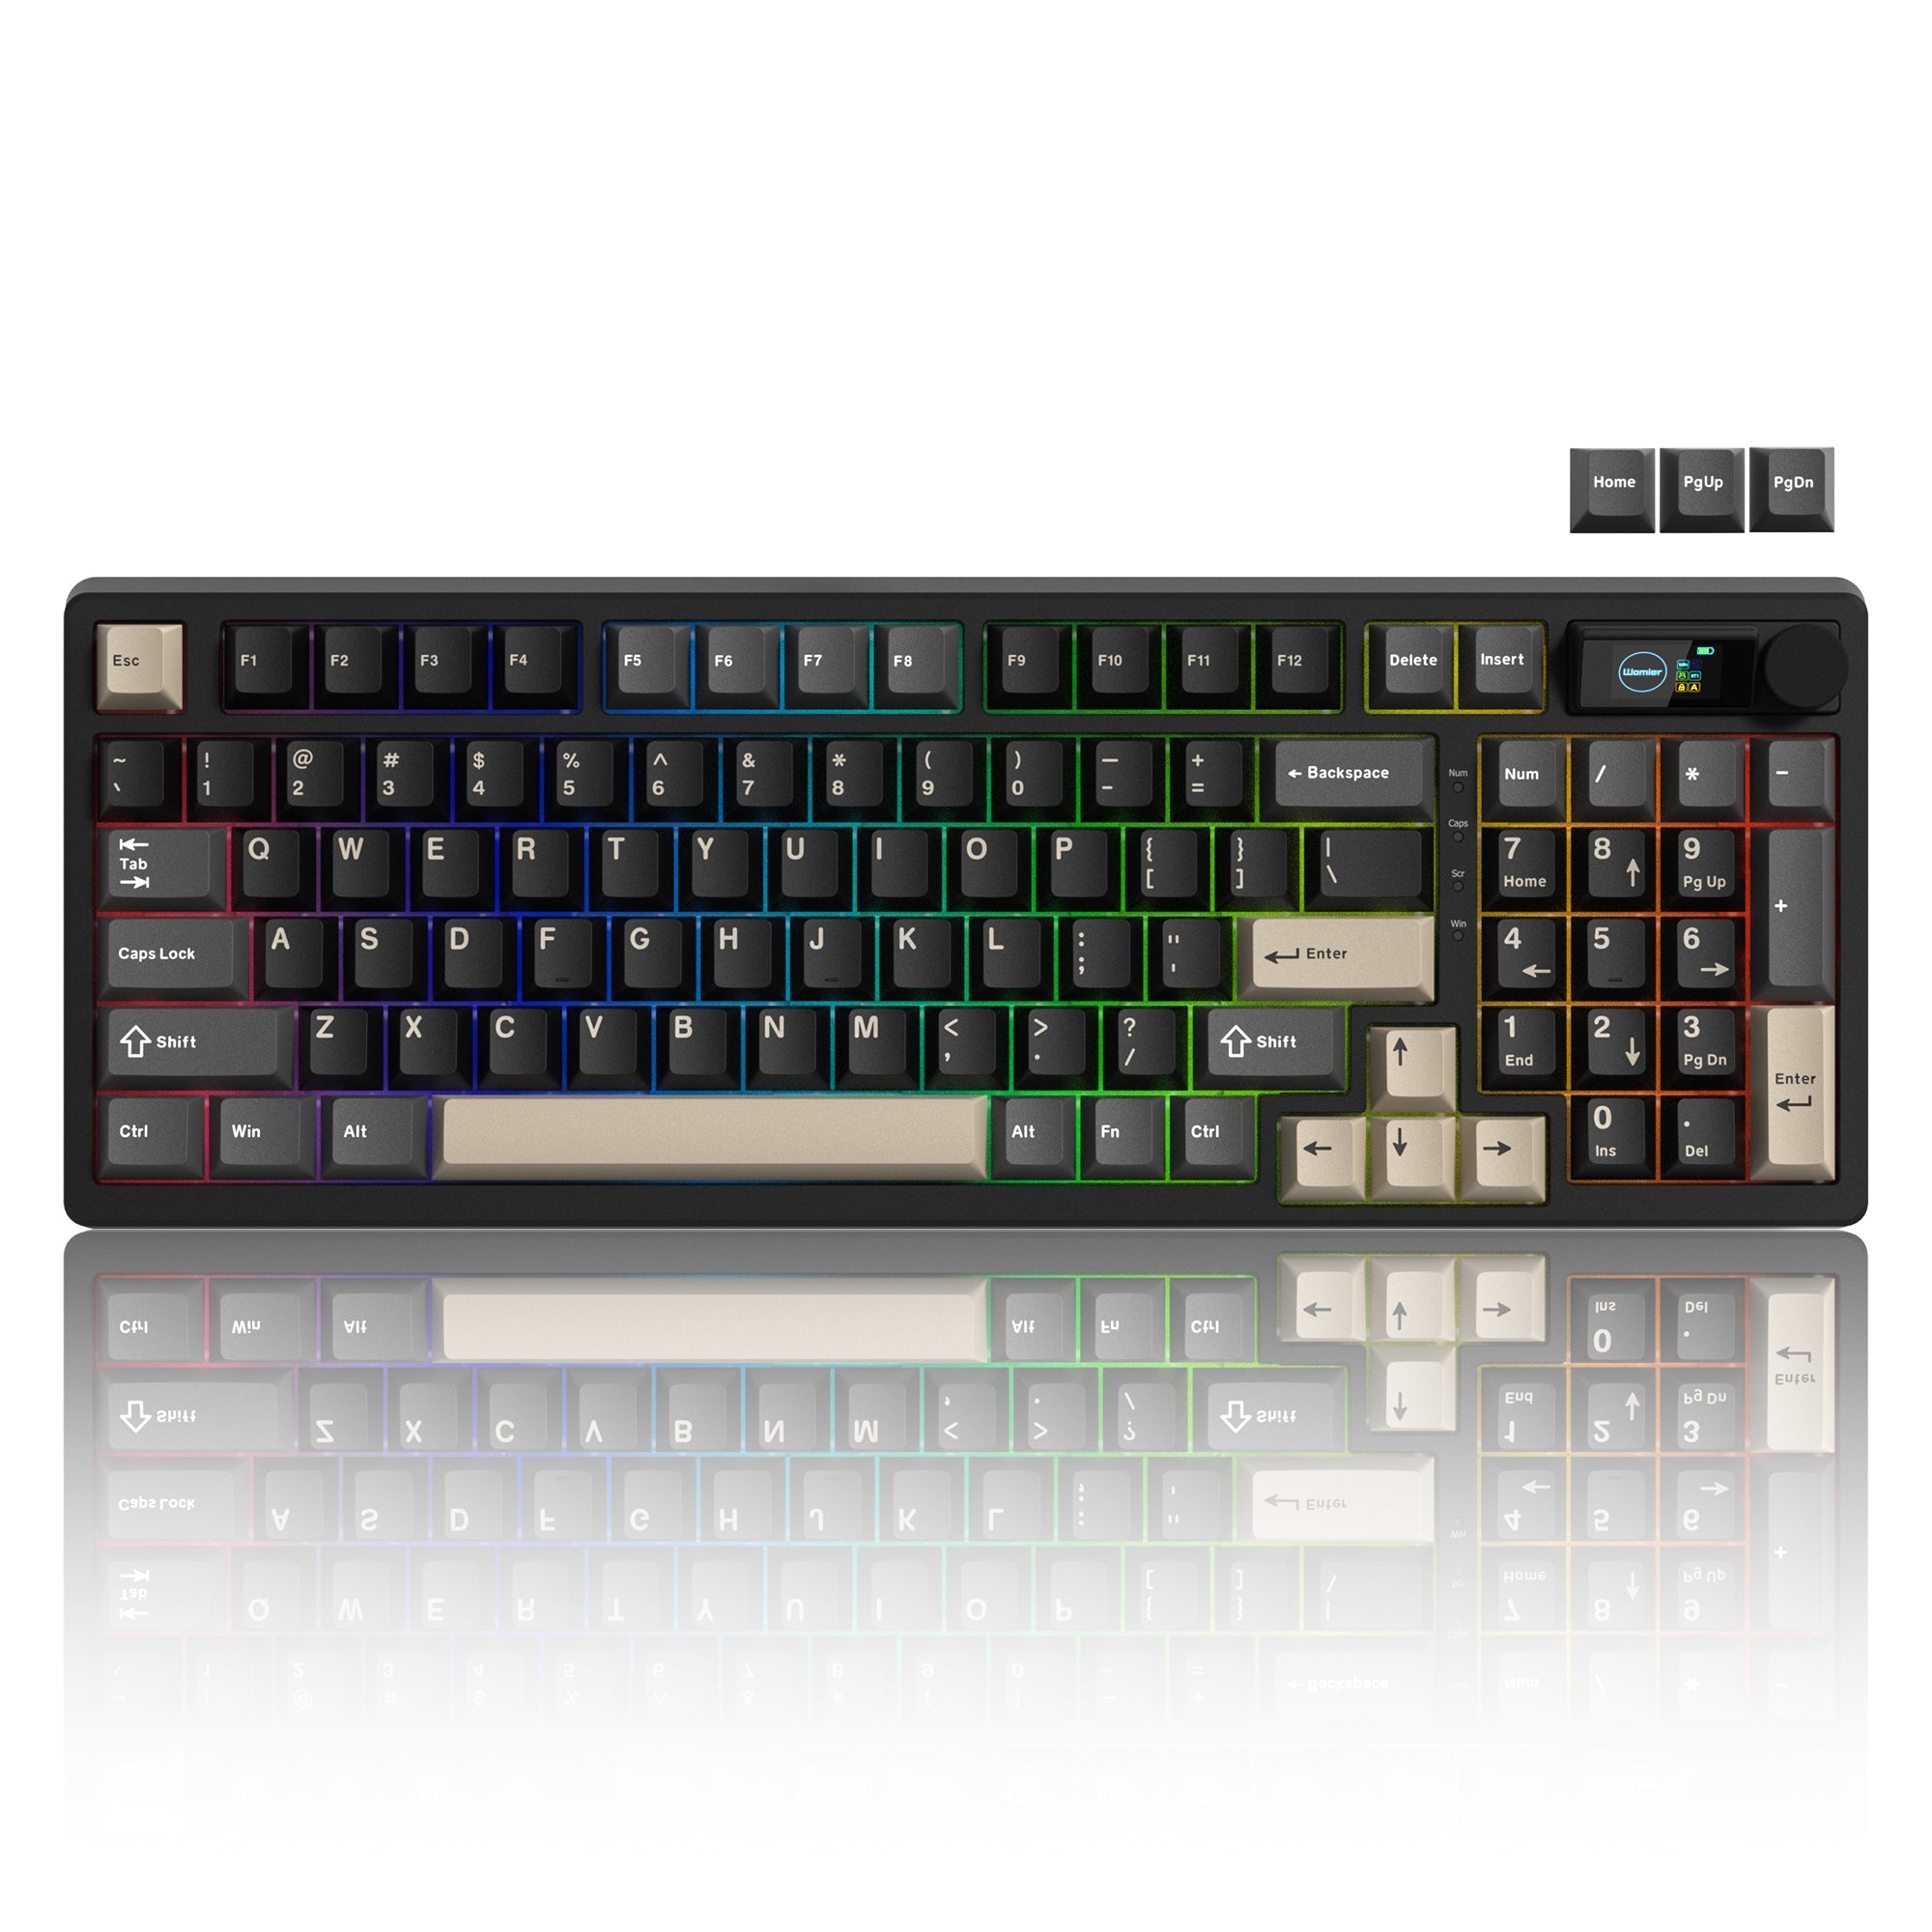
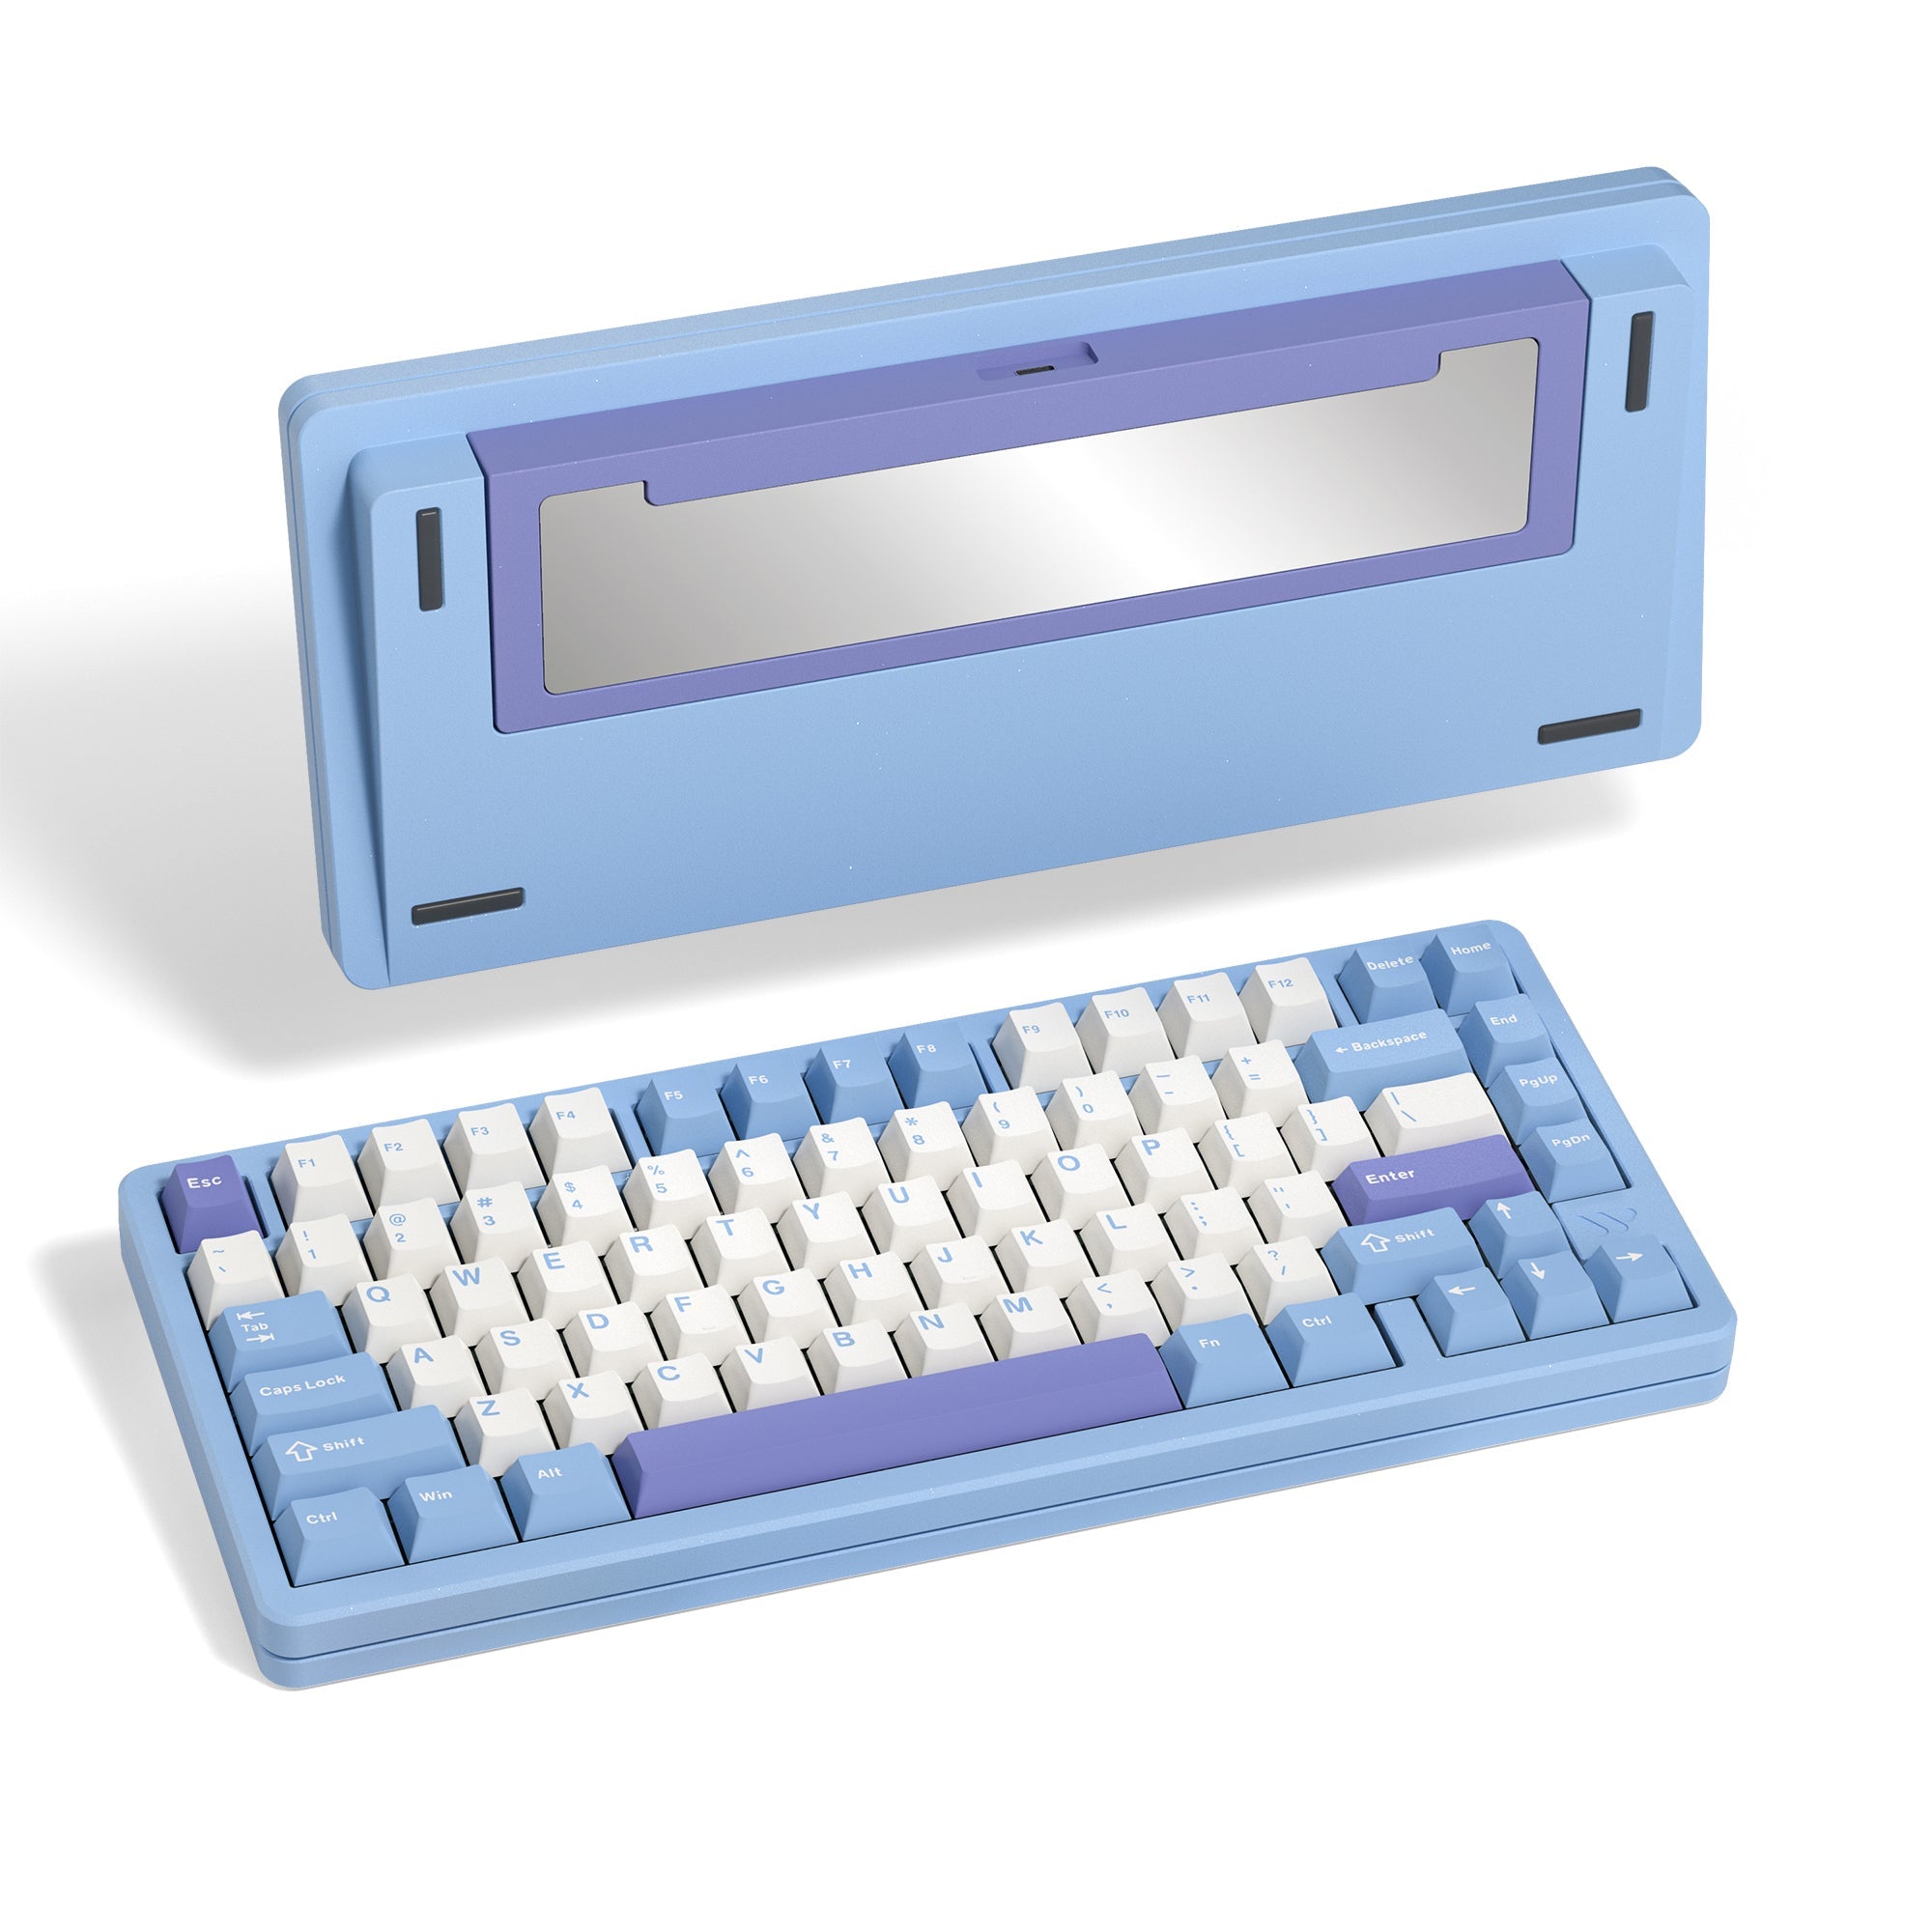
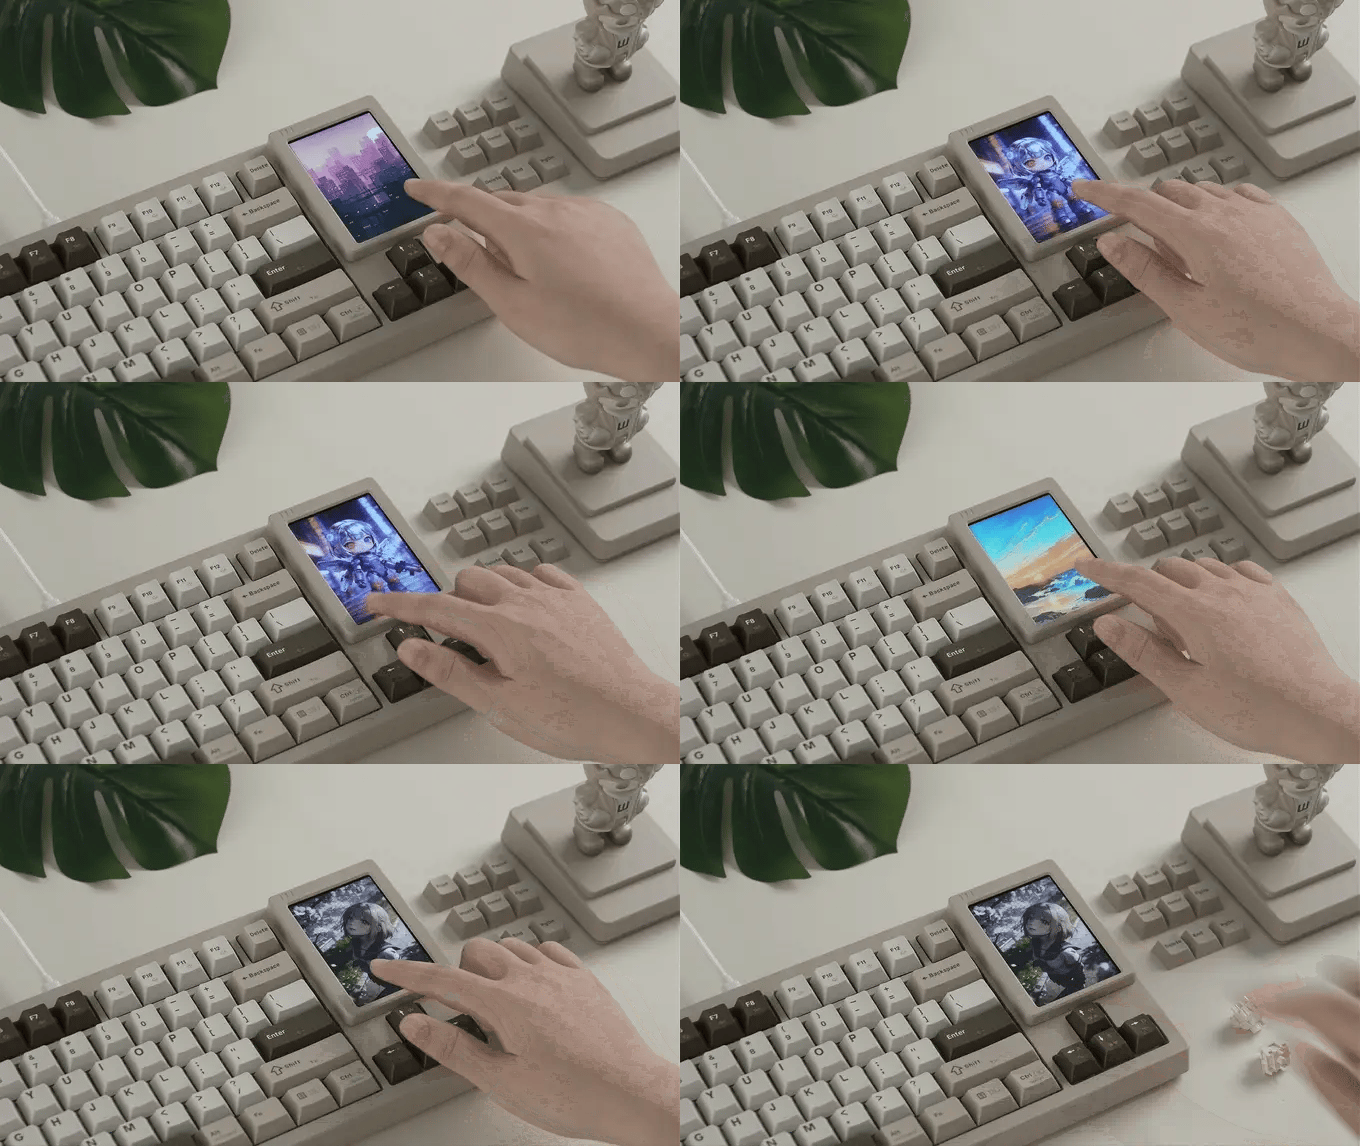
The Womier DUO87 features an innovative 3-in-1 modular editing zone on the right side. You can freely switch between a vivid TFT touch Play Deck, an artisan figure display base, and a standard switch cluster. This touch screen acts as both a macro control panel and a customizable digital display, greatly simplifying operations for designers, video editors and streamers. This guide covers full hardware and software operations, with a dedicated independent section for macOS permission setup as stated in our official Kickstarter update.
1 Hardware Installation & Two Usage Modes
Install the Screen Module
Before swapping modules, remove all keycaps and switches from the editing area to expose the magnetic mounting base. Align the magnetic contacts on the back of the screen with the slot, then place it down gently for instant magnetic attachment — no screws required.

Two Available Usage Styles
1.Integrated Keyboard Mode: Attach the screen to the keyboard. It shares the keyboard’s Type-C cable for power and data transmission, plug-and-play.
2.Standalone Mode: Detach the screen and place it on the matching dedicated stand. Connect the stand to your PC with an individual Type-C cable to use it as an independent desktop macro pad.
Stand Light Control Buttons (The physical button is located inside the stand recess.)
- Short press: Cycle through different RGB light effect
- Hold for 5 seconds: Turn the strip light on or off
- Double tap: Switch to software-controlled lighting mode
- Double tap again: Revert to physical button lighting control
2 Full Software Instructions for DUO87 Play Deck
Software download link: https://drive.google.com/file/d/1cbjYc3TZ6-wB1J-d-_JtAMQTGOnFY2R3/view?usp=sharing
Note: Keyboard layout and backlight adjustments are done via the VIA web tool. All screen-related functions are configured only in the exclusive DUO87 Play Deck software; the two tools work independently.
Mode 1: Screensaver Mode
1.Launch the software and switch to Screensaver Mode.
2.Uploaded images/GIFs must be in 320×480 resolution. Supported formats: JPG, JPEG, PNG, GIF.
3.Apply uploaded assets with one click; the screen will loop your custom pictures or animations during standby.

Mode 2: Key Mode (Productivity Macro Panel)
1.Switch to Key Mode inside the software; the screen will show the default function layout.
2.Drag available functions from the right-side Function Library to corresponding touch positions on the screen. Supported functions include one-click app launch, OBS scene switching, PR/PS editing macros, system volume and brightness adjustment.
3.Access the Space Station via the top-right corner. Register and log in to download free plugins and custom icons to expand screen capabilities.

How to Download Plugins & Icons from Space Station
1.Click the Space Station icon at the top right of the software to enter the page.
2.Register and log into your account, then select the LCD AI Keyboard section.
3.Select your desired plugins or icons and click "Get". The software will redirect and start downloading automatically.
4.Plugins can be dragged directly onto the main interface for use. For icons, select a target button, go to Settings > Icon Library to apply downloaded icon packs.

3 Special Permission Setup for macOS Users (Official Kickstarter Requirement)
Important Notice
Because macOS has strict privacy and security protocols, a quick 1-minute setup is required after you install our software (DUO87_Play_Deck).
If you just install it normally, you might find that opening apps works, but hardware controls (like the Console, Volume control, and Screen Brightness) do not respond.
To fix this and unlock full functionality, simply follow these two quick steps in your Mac settings:
Step 1: Grant Automation Access
- Go to System Settings -> Privacy & Security -> Automation.
- Find DUO87_Play_Deck, expand the menu, and toggle the switch ON for "System Events".


Step 2: Grant Accessibility Access
- Go to System Settings -> Privacy & Security -> Accessibility.
- Find DUO87_Play_Deck and toggle the switch ON.

After Setup
Fully close and restart the DUO87 Play Deck software. All screen control features will work perfectly after both permissions are activated.
Quick Troubleshooting Tips
1.Computer fails to detect the screen: Use the original Type-C cable and plug directly into rear PC ports; avoid hubs or extension cables.
2.Screen only shows images on Mac: Double-check both Automation and Accessibility permissions are fully enabled.
3.Blurry GIF animations: Ensure all uploaded media strictly follows the 320×480 resolution without stretching.
